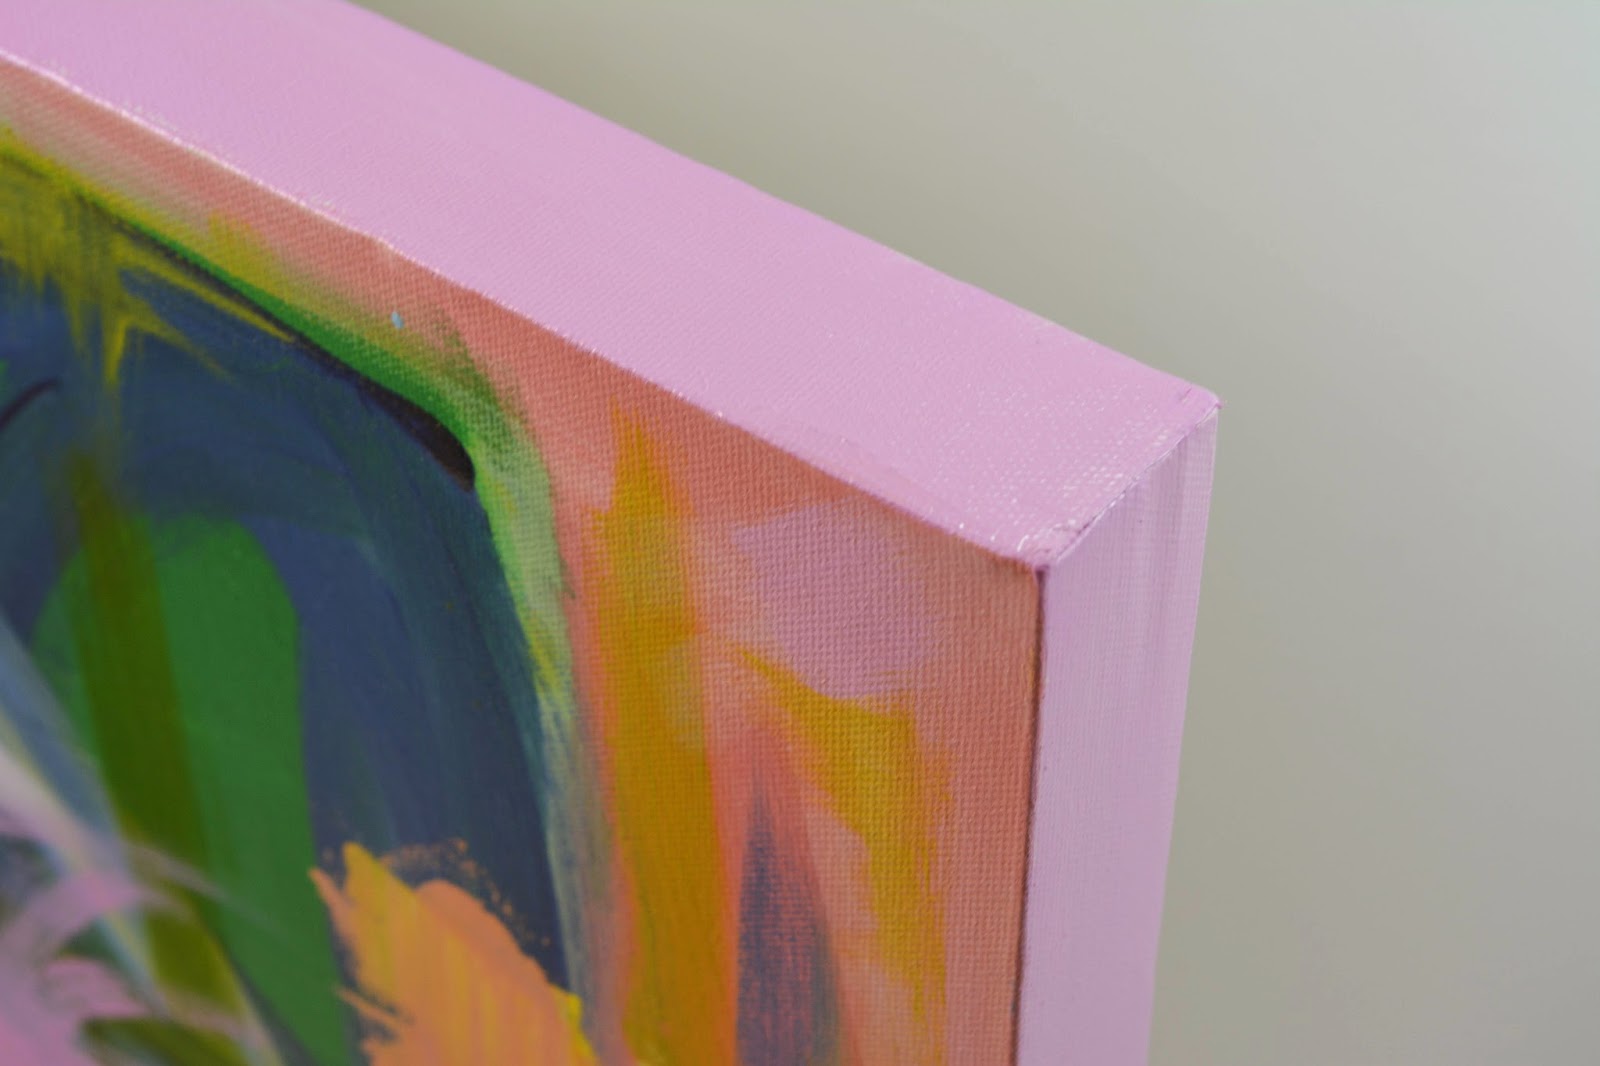
I have been asked numerous times about my lighting set up that I use to photograph artwork and other things. I figured this would be a great place to answer some of those questions.
I am not an expert at this by any stretch of the imagination. I should mention that what I do know I was taught by an expert, my friend
Ellen Levine Dodd as well as, lots of trial and even more error. This is a very basic set of tips that should get you on the road to better shots.
This monster has a standard base that fits right in those lighting stands but it is important to note that they are heavy and if you are not careful they will tip the stand and shatter. I know because it happened at my house.
The important thing to know when buying a CFL for photography is that you want a "daylight" bulb, that is 5000 Kelvin full spectrum. It is a cool light and you might swear that it will make your photos look strange but its the right thing. I was unable to find high enough wattage in a big box hardware store so I bought them
online.
I use 2, 3, or 4 depending on what I am lighting and have found that they work well to light from all sides like in these tricky shots I take for
Serena and Lily.
I also process my images in Adobe Lightroom. Here I am able to correct the white balance.
The easiest way and the best cheat for a non-professional is to include a bright white paper or board in your shot. Then using the dropper (arrow in photo above) click on that bright white object to correct the white balance. You can then crop out the white thing in the shot. I also sometimes need to fix the tint, contrast or exposure in some shots.
These are the most basic tips that should help you get better photos.
I hope this little guide is helpful to all of those who have asked me about lighting.


