Monday, December 29, 2014

Styling with feminine art

Hope you all had a lovely holiday. Ours was great.
Over a visit with family, someone asked me how I would incorporate a very feminine painting of mine into a room that was not a super sweet little girl's room.
To answer, I made this design board.

"Tea with Mabel" available on Serena and Lily.com

While decidedly a feminine room, I think with a few rich wood pieces it could lean more gender neutral.

Wednesday, December 24, 2014

A festive centerpiece


I am kind of cheating here. This is a centerpiece from 3 years ago. I am not sure my centerpiece will even be blog worthy this year. I will figure it out at the last minute. I had hoped to do something like this with a gorgeous pineapple my husband bought but it was ripe so we ate it. It was delicious!
I have a case of citrus that my father sent and I think it would be lovely with some greenery but its cold and nasty out and I can't convince the kids/teens to go and cut some in the woods.

I love fruit and greenery together at Christmas and the fruit always gets eaten after the festivities.


Merry Christmas to all of you!!

Tuesday, December 23, 2014

Working with a neutral palette


When I decorate, I prefer color tied together with a neutral as opposed to dominant neutrals with just a speck of color. When it comes to painting, I am open to anything and I have upped my neutrals.

 Working in grays, blacks, beige and white with just a hint of my favorite pinks and blues has been fun and judging by the speed at which they sold, I am onto something.


Available at Anne Neilson fine art Charlotte, NC

Available at Anne Neilson fine art Charlotte, NC


Monday, December 22, 2014

Artist profile: Lesley Grainger


My friend, Lesley Grainger has launched her new website and I wanted to tell my readers about this talented woman. Like most creatives she was artsy from the beginning.
Her love and passion for design and illustration, inspired her to establish Lesley Grainger Design in 2008 and license her artwork. She quickly began the task of securing clients and commissions and felt very blessed with the many companies that have licensed her designs. Lesley has established numerous great and flourishing relationships with many high profile companies such as Oopsy Daisy, Papyrus, Raz, Riley Blake, Target and Walmart. In 2014 she took a step of faith and launched the Lesley Grainger online store in response to the many requests for her artwork.


These are a few selected  originals from her shop but her portfolio of whimsical fabrics and kid's art is worth a look too.


You can also follow her on Instagram and Facebook to see her work in progress.

Thursday, December 11, 2014

Making oil paints at home


I have long wanted to try my hand at mixing my own oil paints with pigment and oil. The thing that stopped me was that it seemed like an unnecessary step to add to my process as an artist. It is not necessary but fun and a bit more control over color and consistency of the paint.
It is not difficult. If you can make brownies from a box you might be over qualified.
The ingredients are another story.


I already had linseed oil and natural mineral pigments from a project I did years ago. I found a resource for pigments should I want more than the tiny leftover bits I have.
The trick is not to use too much oil.


The first mix I did have too much oil, which is actually relative. The silky, fluid paint I ended up with was wonderful on the brush but it will take a long time to dry. That can be helped with drying mediums but at this point I just wanted unadulterated oil color.


I added more pigment to make a very thick paste.


I then found an itty, bitty glass jar to store it in and mixed the remaining color with titanium white from tube and an alkyd drying medium to get a pale blue for painting.


I doubt I will do this all of the time but it was fun and is a great way for me to get small amounts of a custom color.


Friday, December 5, 2014

New house dreaming


I have been doing more "new house dreaming" than one person should. "New house dreaming" is when you decorate the rooms of houses that you do not own but actually have plans to move. I have no idea what our new house will involve at this point, so I just fantasize.

I am a big fan of mixing traditional pieces with modern pieces and I hope to take my decor a bit more to the traditional side this time. 
I chose a Chesterfield sofa with a burled walnut chest and some blue and white pieces from the Pink Pagoda for the traditional part of this living room. I threw in a Dana Gibson pillow, lamp from Wisteria and the White cocktail table from Aerin.com to add some zing.
I also used my painting "Smolder" which is being offered by Gregg Irby Fine Art in Atlanta to make the whole thing a bit edgier.


Do you decorate houses that you don't own just for fun?

Wednesday, December 3, 2014

Lighting questions answered


I have been asked numerous times about my lighting set up that I use to photograph artwork and other things. I figured this would be a great place to answer some of those questions.


 I am not an expert at this by any stretch of the imagination. I should mention that what I do know I was taught by an expert, my friend Ellen Levine Dodd as well as, lots of trial and even more error. This is a very basic set of tips that should get you on the road to better shots.

I use these lighting stands that are shown above. They came with bulbs that are only sometimes satisfactory so I bought the Queen of CFLs.


This monster has a standard base that fits right in those lighting stands but it is important to note that they are heavy and if you are not careful they will tip the stand and shatter. I know because it happened at my house.


The important thing to know when buying a CFL for photography is that you want a "daylight" bulb, that is 5000 Kelvin full spectrum. It is a cool light and you might swear that it will make your photos look strange but its the right thing. I was unable to find high enough wattage in a big box hardware store so I bought them online.

I use 2, 3, or 4 depending on what I am lighting and have found that they work well to light from all sides like in these tricky shots I take for Serena and Lily.


I also process my images in Adobe Lightroom. Here I am able to correct the white balance.


The easiest way and the best cheat for a non-professional is to include a bright white paper or board in your shot. Then using the dropper (arrow in photo above) click on that bright white object to correct the white balance. You can then crop out the white thing in the shot. I also sometimes need to fix the tint, contrast or exposure in some shots.
These are the most basic tips that should help you get better photos.

I hope this little guide is helpful to all of those who have asked me about lighting.

Monday, December 1, 2014

My blue and white Thanksgiving

Today I am linking up to Jennifer's Blue and White Bash over on The Pink Pagoda
Each holiday I like to arrange fresh flowers or fruit or both as a centerpiece in my formal dining room. This year I chose three small ginger jars in my collection.


I bought red and peach colored roses and trimmed some boxwood from my yard.


The blue and white was so cheerful and the small ginger jars left plenty of room for things like gravy and cranberry sauce.


Hope you had a lovely holiday!

Friday, November 28, 2014

Holiday sale--30% off 100% original


I don't know about you but I love to stay home the entire weekend following Thanksgiving and bask in family time. I do indulge in a few online sales though.
I am offering 30% off on any artwork on my site through Monday. Just use the code HOLIDAYFUN to take advantage.

I'd love to hear about the goodies you have indulged in this weekend--at home and online.

Wednesday, November 26, 2014

Happy Thanksgiving

Happy Thanksgiving!


I hope you all have a lovely day.
I got my table setting in place a few days early. My husband bought a 27 lb. turkey for the five of us. People keep talking to me about freezing leftovers and I just laugh. They don't know my family. My stick thin son can eat 3lbs. in one sitting.


Have a fantastic day!

Wednesday, November 19, 2014

Shipping artwork


The question most asked of me by other artists is about shipping paintings. The task seems so daunting that it keeps some from selling their work online.
I will show you my method for shipping works in cardboard boxes and the supplies I use.


I start with a clean work surface and my supplies for wrapping the painting.
A tape gun is a must. They are less than $15 and replacement tape rolls are easy to find.
I also buy rolls of 4 mil plastic in the 36 inch by 50 foot size. The wider size sheets are often unmanageable. The plastic is  easy to locate at hardware stores and big box stores.


Take the time to do the math before cutting to avoid waste.


I am wrapping an 18 x 24 inch canvas and the 36 inch width is not enough for a one cut of the plastic so I double it to have sufficient overlap. This is the time to include any additional materials like a note to the buyer or care guide.


I wrap the canvas like a present and tape thoroughly but not so much that opening the package will be an ordeal.


The most complicated aspect of this process is choosing and ordering your shipping boxes. I order from Uline.com and keep 4 or 5 sizes handy. I can't stress enough the importance of taking a basic inventory of the sizes you work in most and determining which box size will be the most useful.
The S-4553 that is 30 x 5 x 24 inches has proven the most useful to me. Knowing these dimensions in advance can help you give accurate shipping quotes and price your work accordingly.


I use packing paper and peanuts. I generally use the biodegradable peanuts (though not always) but I buy them all from a local shop owner who receives numerous shipments that are mostly peanuts. He saves them and sells them for a fraction of the cost of ordering them in bulk. Many business owners would love to get rid of their peanuts without throwing them away so it may be worth it to call around.


After a layer of peanuts, I center the painting and keep it in place with packing paper tucked snugly along the edges. This keeps both flat surfaces of the wrapped painting away from the outside of the box.


Next I fill the remaining space with peanuts. It helps to gingerly tap the box on the floor or table to allow the peanuts to settle as they would during shipping. Be careful not to allow the walls of the box to stretch out and bulge with packing material while doing this.


All that is left is to tape the box closed and whisk it away to the shipper.

I hope that was helpful and hope to do a post on crate building soon also.
Questions? Ask away in the comments section.

Monday, November 10, 2014

Using my flower photos for inspiration


I have been working lately on floral abstract paintings and I often work from photos.
I use the photos to pull color and line but then work hard at not painting realistic flowers, just the reminder of what a flower is like.

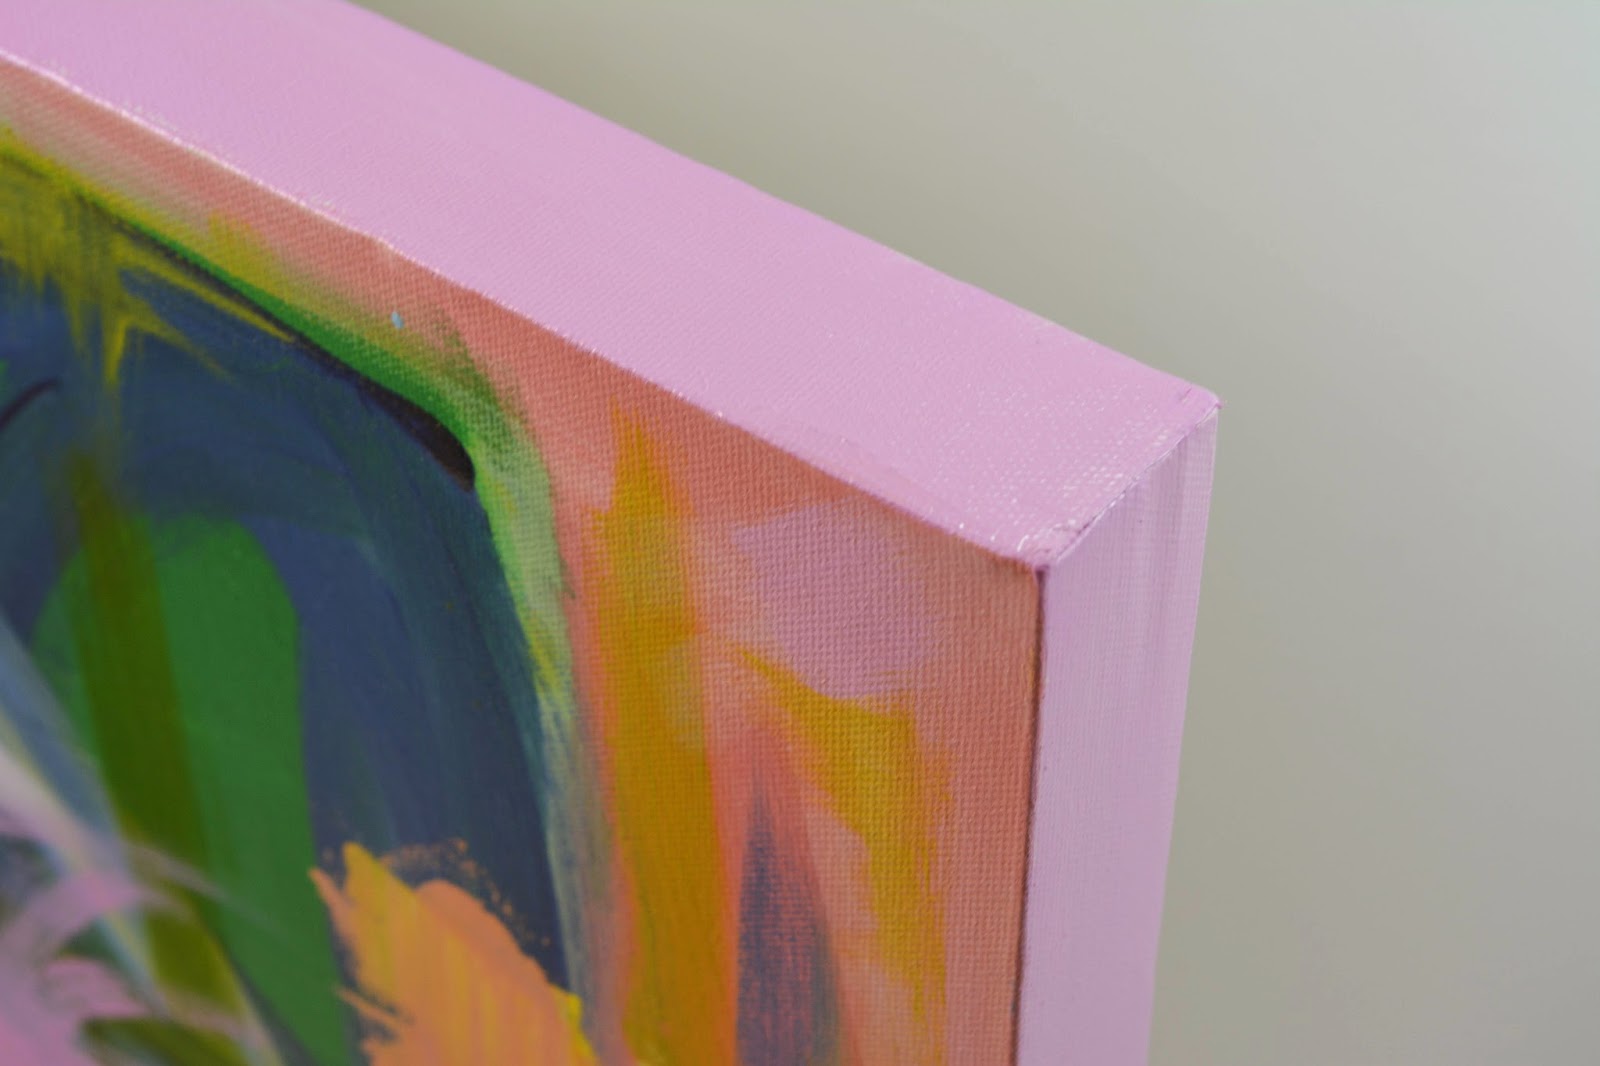
"Tea with mabel" 36 x 36 oil on can vas by Kerry steele

"Lilies and lipstick" 12 x 12 oil on canvas by Kerry Steele

Pinterest can be a great source but I wanted certain flowers photographed in various but specific ways. 


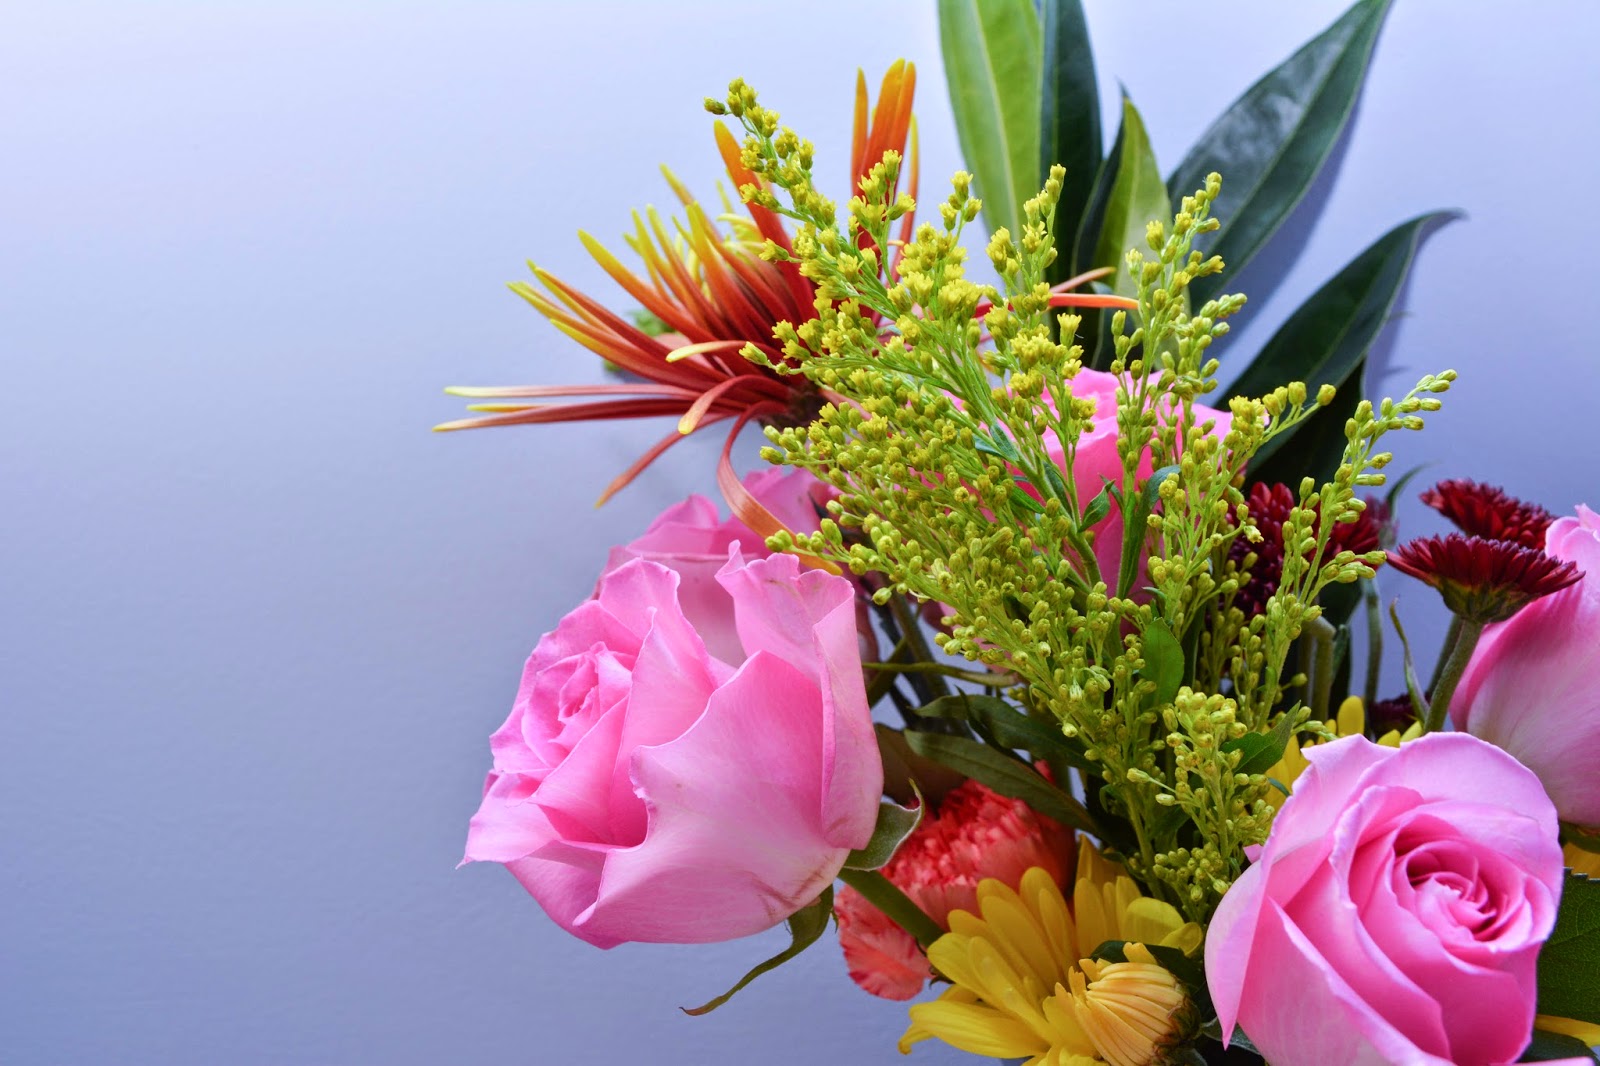
These are the result of an afternoon with my Nikon 5200 and just one 85W CFL Full spectrum bulb.


My goal was to capture the gentle, curving folds of the petals, as well as, the edges and how they look from different angles. 


I am always inspired by the subtle color changes in leaves and petals. The shadows they create fascinate me too.


The ruffle-like carnation and waxy lemon leaf are interesting juxtapositions of texture. As I photograph the individual blooms I keep a mental note of colors I might use.


Some flowers, like this spider mum, don't appeal to my sensibilities in terms of color but do have me thinking about shapes. I use Adobe Lightroom to play with the colors.


Feeling sufficiently inspired by single blooms I moved on to other compositions of color, texture and shape. I like asymmetrical and angled compositions. They lead to paintings like "Delphinium", that recently sold.


I am really pleased with this batch of inspiration.