Showing posts with label DIY. Show all posts

Thursday, December 11, 2014

Making oil paints at home


I have long wanted to try my hand at mixing my own oil paints with pigment and oil. The thing that stopped me was that it seemed like an unnecessary step to add to my process as an artist. It is not necessary but fun and a bit more control over color and consistency of the paint.
It is not difficult. If you can make brownies from a box you might be over qualified.
The ingredients are another story.


I already had linseed oil and natural mineral pigments from a project I did years ago. I found a resource for pigments should I want more than the tiny leftover bits I have.
The trick is not to use too much oil.


The first mix I did have too much oil, which is actually relative. The silky, fluid paint I ended up with was wonderful on the brush but it will take a long time to dry. That can be helped with drying mediums but at this point I just wanted unadulterated oil color.


I added more pigment to make a very thick paste.


I then found an itty, bitty glass jar to store it in and mixed the remaining color with titanium white from tube and an alkyd drying medium to get a pale blue for painting.


I doubt I will do this all of the time but it was fun and is a great way for me to get small amounts of a custom color.


Tuesday, October 28, 2014

Making monoprints in my studio

"Nettle" oil on paper monoprint

Sometimes an artist needs to regain that element of play in work and monotypes are the way I have been playing this week.
Many people see the word print and think it is a reproduction and sometimes that is the case, but with monoprints they are a one of a kind piece of art where printing is part of the creation process.
I am going to show the method I used.


First I bought an 18 x 24 sheet of plexi-glass from Lowe's.

I grabbed some blank newsprint, art paper ( I used Arches oil paper for my oil prints and watercolor paper for an acrylic print) a ruler, a marker and brayer.

I traced the paper I was using on the newsprint and also the marked out the smaller area I want to actually print.

 I traced it with pencil and then went over with marker so it would be really easy to see.


I started with oil color inside of the printing area and chose two pale colors for the first layer.


Once I was satisfied, I carefully lined up my paper with the outside marks I made on the newsprint and went over the paper with a brayer.


The first layer had really soft colors so I continued with a few brighter layers without cleaning the plexi-glass.


I used the same process of lining up the paper and rolling.

I worked from light to dark on this one but sometimes you might want to do the reverse.
It is also fun to erase each layer after printing and before adding the next layer.

Here are a few other I made over the weekend.
The first was made with a sheet of acetate that I turned over onto the paper and it should be noted that I wiped it clean between each layer.

"Kelp" oil on paper monoprint

"Prairie grass" acrylic on paper monoprint

Are you going to give this a whirl?

Thursday, May 8, 2014

ORC-Whew! Its done!


As always, many thanks to Linda of Calling it Home for dreaming this baby up.
Are you all exhausted too?
If you need to catchup here are the previous weeks.
Week 1
Week 2
Week 3
Week 4
 Week 5
Let's take a look at my plan for my 17 year-old daughter's room and the results.


I had the bed, curtains and loveseat beforehand.
The girl likes chevron so I indulged.


I ordered a Lucite chair (from a company I won't recommend) and the blue and white chevron rug was a last minute Homegoods find.


The accessories in the room were the most fun for me. We both love elephants and the brass one was a thrifting score.
I found this vintage magazine rack at a local thrift and hit it with some gold spray paint to tie it in with some other accessories and hold all of my old her records.


I actually had the table in my basement. It was a side-of-the-road broken find that I repaired and lovingly refinished years ago. I took a deep breath and just started painting it white before I could reconsider.


I use my children's rooms as art hanging spots for my paintings until they sell so we can enjoy the paintings for a while.


That painting is from my new series and my daughter likes things to be color coordinated  and I think this works with her color scheme without totally matching.


The lamp on her nightstand was thrifted and I wrapped nearly all of the books in fun wrapping paper.


The pillows and throw on the loveseat make me want to steal them.
I found these blue and white porcelain balls at a discount store and I may have to buy some for myself.


 I hung her watercolors that are for sale in her Etsy shop with bulldog clips and they serve as inspiration as she works.

A print from The Pink Pagoda and a small abstract of mine work nicely together.
The rainbow was painted by her little sister and hangs with my favorite of all of her elephant paintings. I might just have to snap that up myself.

I learned a lot from this ORC. The main thing is that I never want to redo a a room with a resident slob. Every photo you have seen involved me moving clutter and clothes out of my way and putting things back to the way they were just a few hours earlier.
 We love the Parsons desk and ghost chair andI am really happy with the John Robshaw pillowcover I ordered and my recovered storage cubes.

Are going to spend the next few hours perusing all of the other fabulous ORC linker's rooms, like me?

Like Design du Monde on Facebook for blog updates
Like Kerry Steele Art on Facebook to see my latest artwork
Follow me on Instagram to see paintings in progress

Thursday, October 17, 2013

Must haves--ORC linking participant


If this is your first time here, this is a linking party courtesy of One Room Challenge genius, Linda.
See all of the participants HERE

Here we are at week 3! For me that means panicking about the things that are not done and not delivered yet. Panicking about not being able to do a post on fabrics because one stupid item has not been delivered.
I thought it would be helpful to show two products that were indispensable in reviving some of my vintage pieces so they look vintage as opposed to crappy.

I had my doubts about this Pledge revitalizing oil. I have used lemon oil on wood and it can absorb unevenly, looking really messy. My son's vintage dresser had seen some hard use and after cleaning it thouroughly with Murphy's oil soap I wiped it down with the revitalizing oil. It made a huge difference.
I ran around the rest of my house trying it on other antiques too and I really love it.


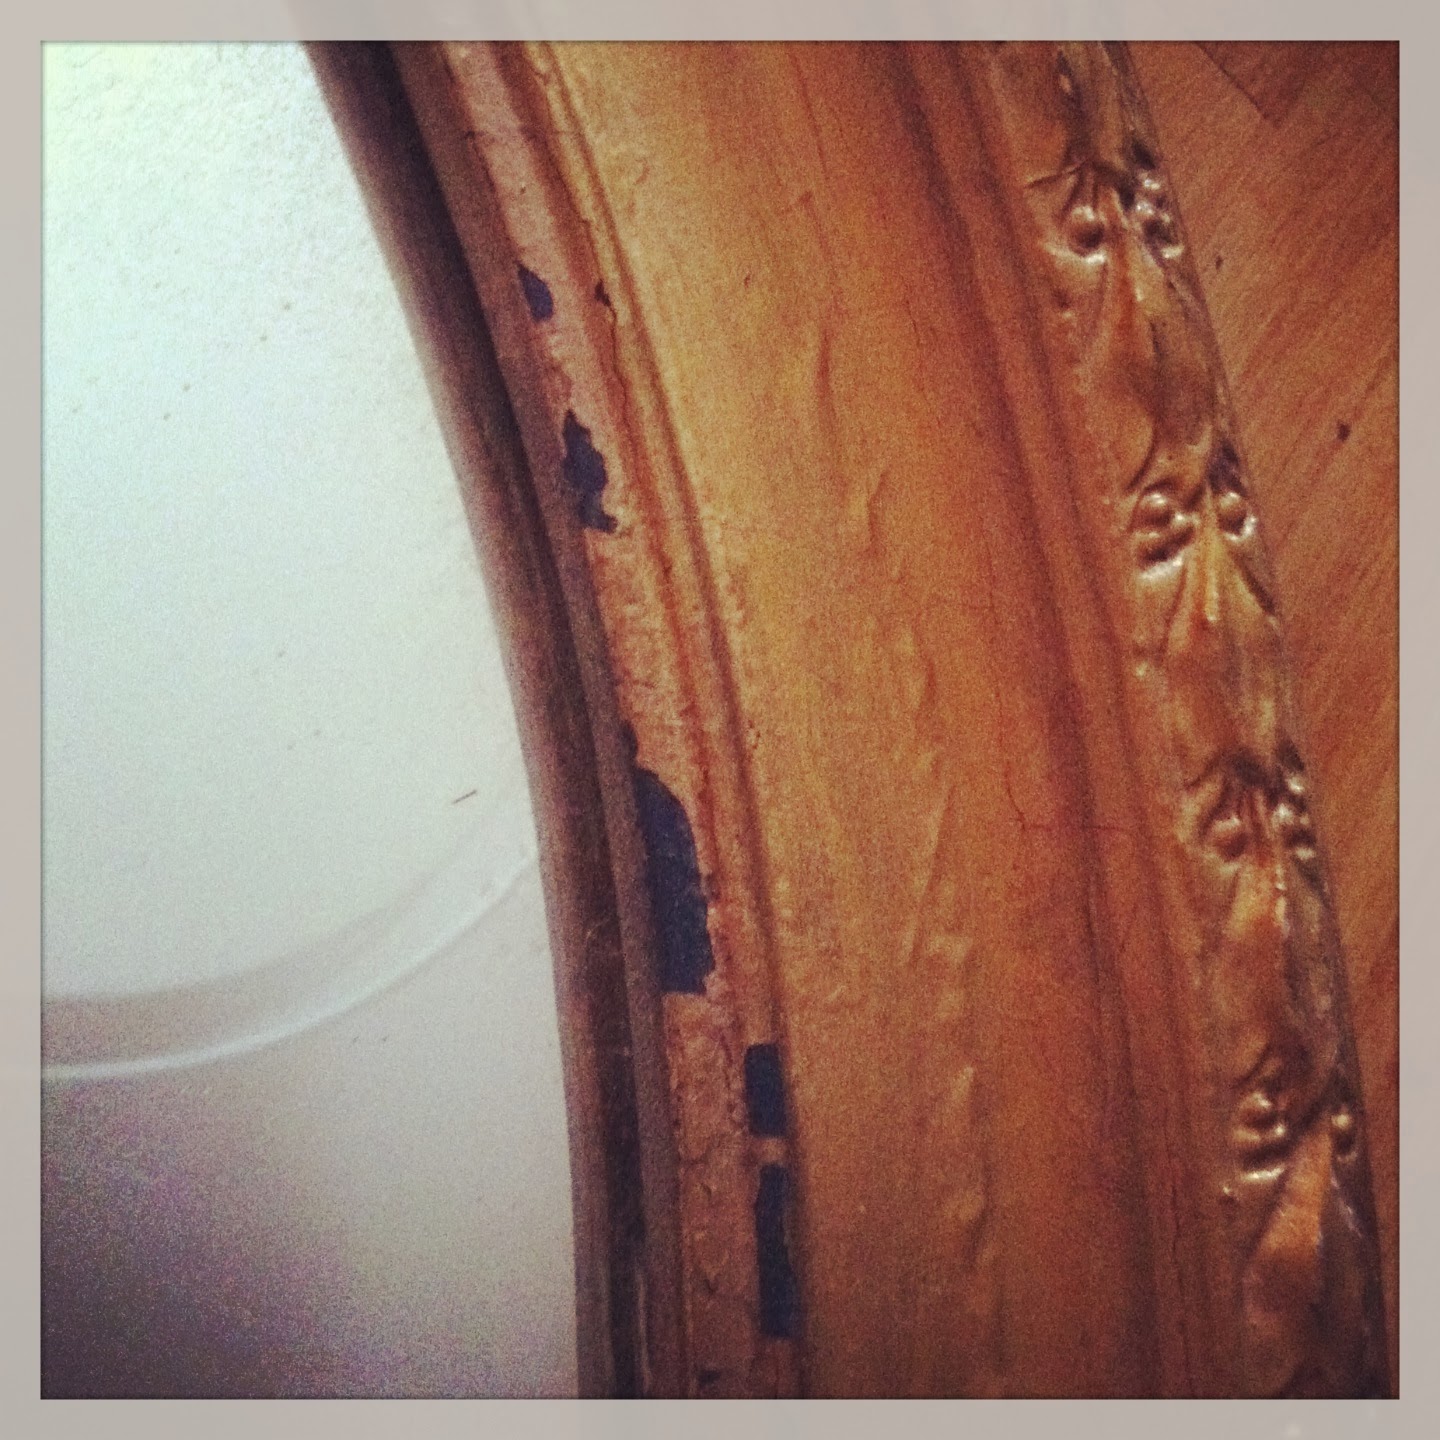
This antique mirror was in my basement still packed in the box from our move three years ago. I was really glad it was not broken but the gold frame was chipped and beyond acceptable.
I whipped out my Krylon gold leaf pen and began the touch-up.

This is perhaps the simplest DIY ever. I did use it on more than just the chipped areas. The gold leaf was noticeably brighter than the old gold finish so I made a continuous ring around the inner perimeter and highlighted the leaf pattern on the outer edge for a more uniform appearance.

Thanks for following along! 
Anyone else panicking?! My to do list says it all. This week was a bust but next week you'll get a two-fer with lighting and fabrics.
To do List:

1. Throw away box of Mike's Hard Lemonade empties in the closet and scrub everything including carpet.
2.Paint walls
3. Source vintage furniture and accessories
4. Move Queen bed in
5. Install new light fixture
6. Trick out the bed with cool pillows
7. Hang curtains
8. Hang art including 2 custom paintings
9. Final zhush
 
You can catch up on my previous posts HERE and HERE

Monday, March 11, 2013

DIY done


 Earlier this year I teased you with a non-New Year's resolution but a January resolution. Well, it might be March but I am done.
I also did a post on block printing fabric that was part of this project. It involved furniture legs that I have had sitting around for 15 years! I sprayed them glossy black.


It started like this, with leftover plywood and $16 worth of foam.


I also had the cotton batting and four furniture legs.


The project involved simply upholstering the plywood and foam with my hand block printed fabric. Old hat, right?
Wrong!


The foam was really thick and the batting and fabric was really bunched up on the underside of the corners. This made it impossible to attach the legs. I almost gave up and threw the whole thing away. Instead I left it on my dining room table for a month and did this...

I cut away the bulk and left enough bare wood for the leg brackets to screw into.

I am I in love with it? Not really. I wish that the fabric was more muted, kind of like this Instagram photo.
It does serve as the (almost) no- money- spent -side -table for the other end of my family room sofa.


Its a little leggy but its done and so it stays for now even though there are about 50 tables I would rather have there.

Wednesday, January 23, 2013

Block printing tutorial


I bought this vintage middle eastern block about a year and a half ago and have been dying to use it.
I finally found a worthy project. It involved printing a yard of cotton twill as a part of another project that I promised soon.


To start you need to measure your block and see how that translates to a pattern that works.


I marked off the spacing I wanted for the first row and then offset that by half for the second row. It is a good idea to get this spacing figured out by printing on paper first.


For the "ink" I used red oxide heavy body acrylic paint and a bit of fabric medium. I mixed it and rolled it out on an old palette but it is properly done on a piece of glass. The roller thingy you see is called a brayer. It is a hard rubber roller and I have had it since college. Many times, over the years I have been tempted to pitch the brayer but the memory of its unusual expense at the college art supply and the two stinkin' times I used it had me holding on and I am glad I did.
It is important roll a layer out so that it goes on you block evenly.


It took me some time to get the feel of how much to ink the block. I was using too little at first. Then, about halfway through, the block got a bit gloppy.


gloppy
I simply wash and thoroughly dried it to continue.


My project will require just a bit less than the one yard and the first three rows of printing were not ideal so I can cut them off. It took me an hour to do one yard but I got much faster and more precise by the end of the run so a larger piece would not be too hard.
My bank account is relieved I did not go for the Robshaw fabric and I still got some hand printed fabric.
I can't wait to try this again.